
Throughout my first year at college I have had a habit of being very ambitious with my work but nothing has come close to how ambitious myself and Ben Beckford were for this week’s homework. (the fact I am finishing this homework almost a fortnight after the deadline shows how ambitious it was).
This task marked the final episode of Mark Kermode’s secrets of cinema and therefore the last task we would be set around different genres, the final genre we were given to explore was horror. You can watch the episode here: https://www.bbc.co.uk/iplayer/episode/b0bfp4h7/mark-kermodes-secrets-of-cinema-series-1-5-horror
Throughout lockdown, me and Ben have stayed in contact and had produced our first lockdown short, a silly comedy titled Men-For-Hire, the week before we were set the horror task.
As Ben is interested in sound design and I have experience in writing, directing, cinematography and editing, we quickly realized that we make a good team so Ben suggested we challenge ourselves to make a short horror film for our final task. I am a sucker for a challenge so immediately got on board and started writing.
My initial idea was about a man with schizophrenia who is in lockdown by himself. I liked this idea as it only needed one actor and could all be shot in my house. I am fortunate that my dad also has a love for filmmaking so I knew I could bring him in to be my actor.
As I started filming I made a realization – making films by yourself is really difficult. I found myself solely responsible for writing, directing, sound recording, lighting, camera operating, scheduling, etc and it was a massive shock to the system as I had gotten so used to working in a crew. This began to weigh quite heavy on me as things inevitably started to go wrong and I become quite pessimistic about the project and my confidence was shattered. This loss of confidence led to a loss of motivation and just thinking about the film became a challenge let alone prepping everything for filming and, to be honest, I really wanted to just quit and do one of the set assignments.
Luckily my dad is a lot more sensible than me and he realized that the film I had written was quite complex and was just too much for me to produce alone. He suggested I massively strip back the story and just use the task as a way to practice building tension and shooting in low light (one of the things I was having the most trouble with). It took me a while to come around to the idea as it felt to me as if I was giving up on the bigger challenge but I eventually accepted he was right.
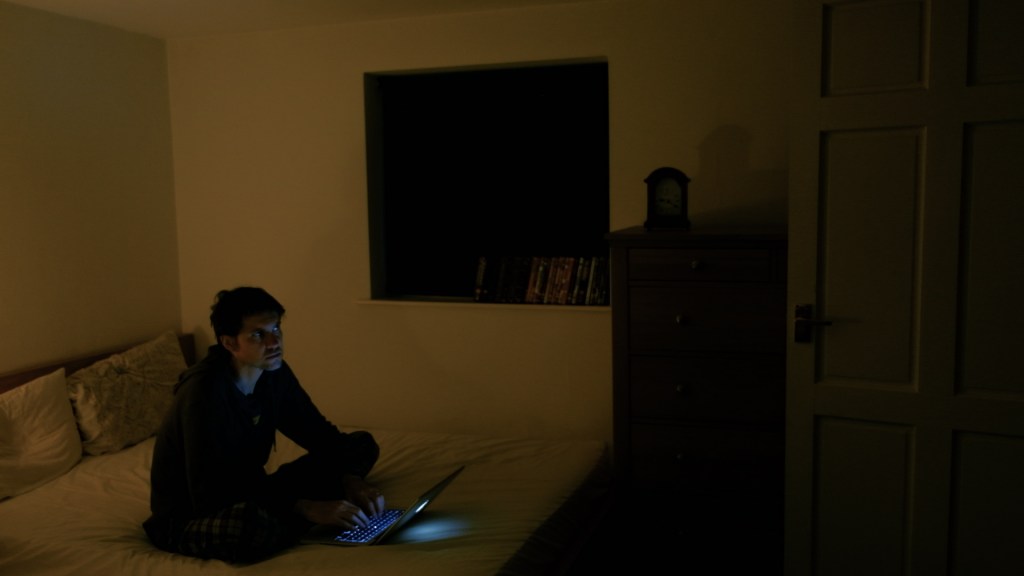
The new idea was simply to make a film about a guy home alone at night who starts hearing weird noises. This idea purposefully had an extremely simple premise as it allowed me to focus on the main two things: building tension and shooting in low light.
Suddenly the project seemed a lot more achievable and I was able to prep and film the entire thing over 3 nights.
Lighting
As I already mentioned, one of my biggest challenges was lighting my set to be bright enough for the camera but dark enough to look like nighttime. I own two decent quality soft boxes but because I can’t adjust the brightness on them they were unusable for this film as they were just too bright. So I had to work with what I had.
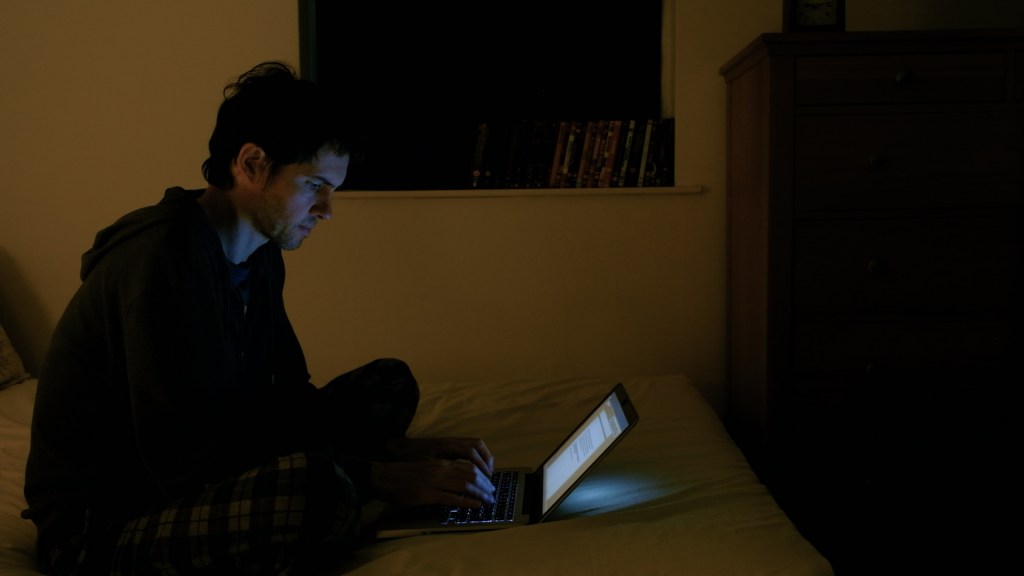
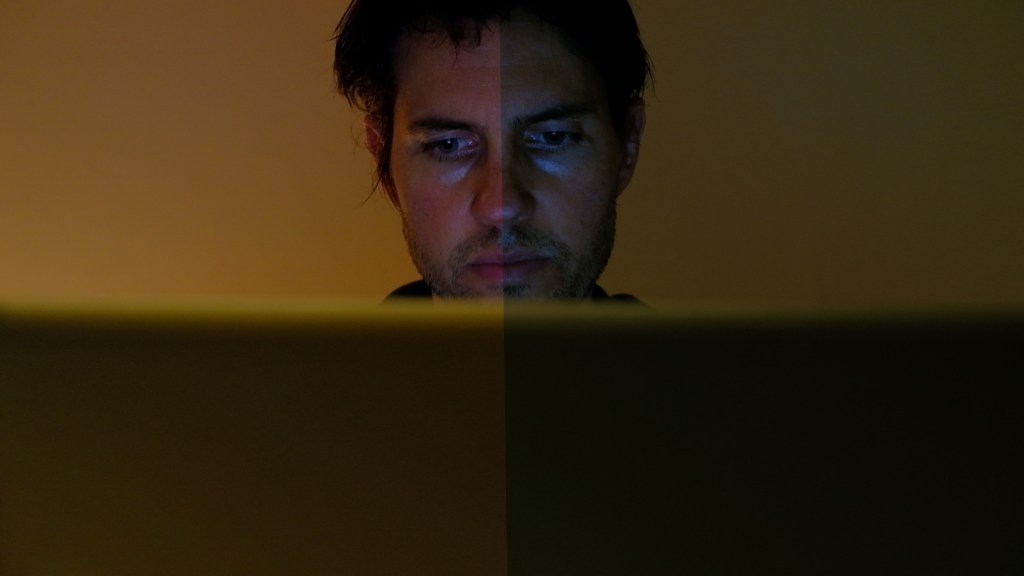
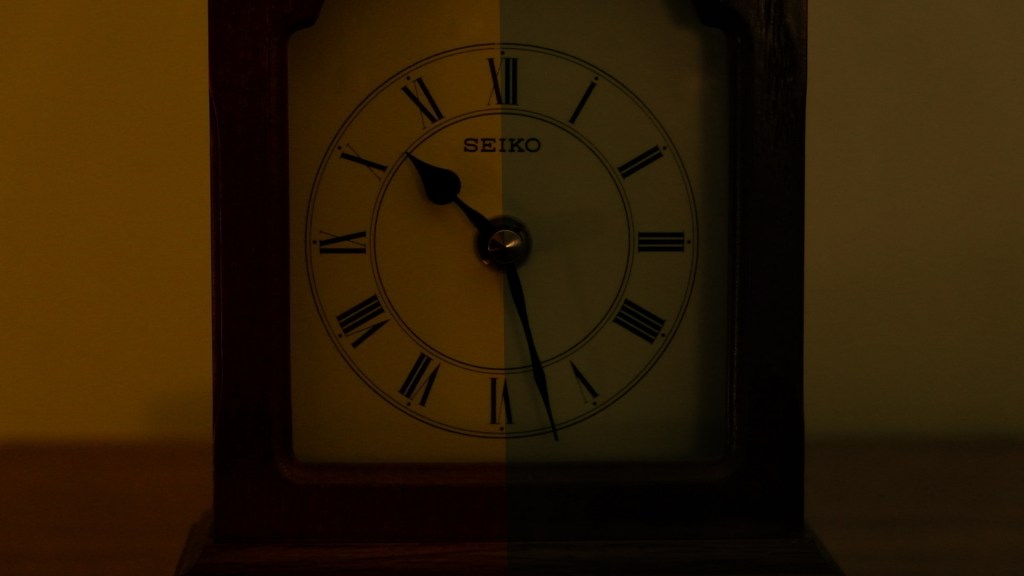
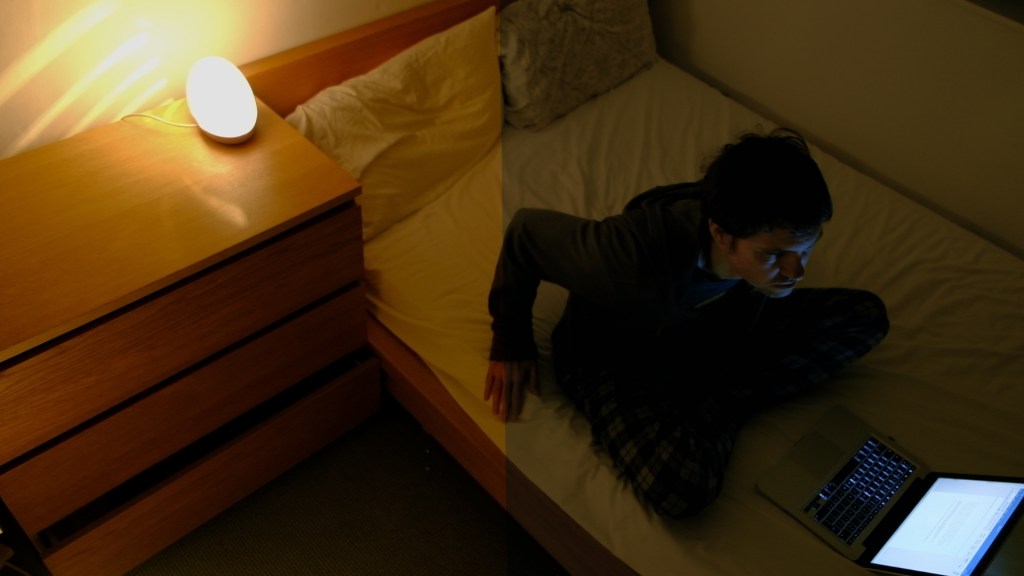
My key light for the entire film was actually my clock as it is the only light in the house that I can adjust the brightness on. I decided to place this behind my subject to create a darker mood for the film.

Also, by making my key light a practical it meant I didn’t have to worry about what was motivating the light in my scene as it was right there for the audience to see.
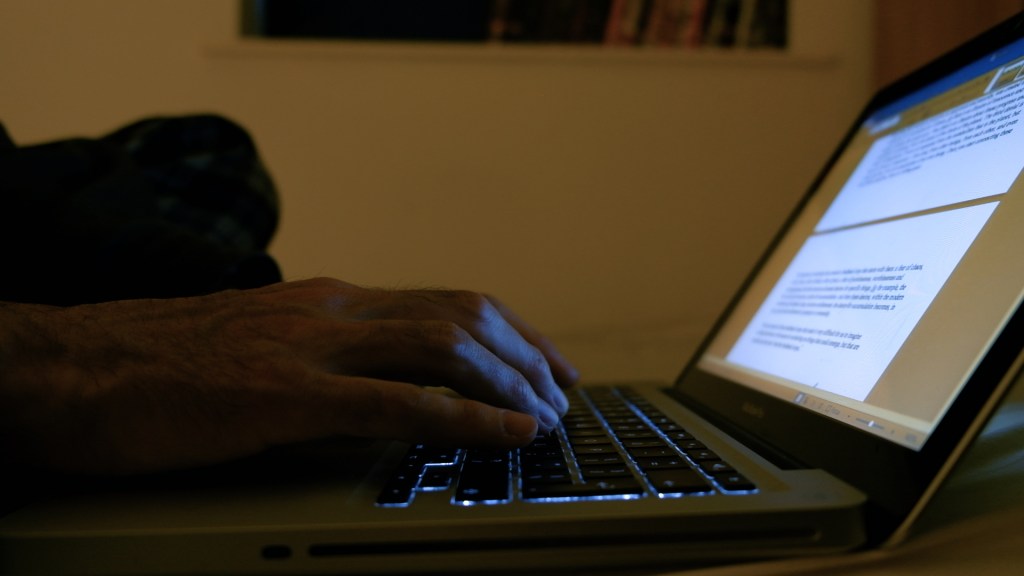
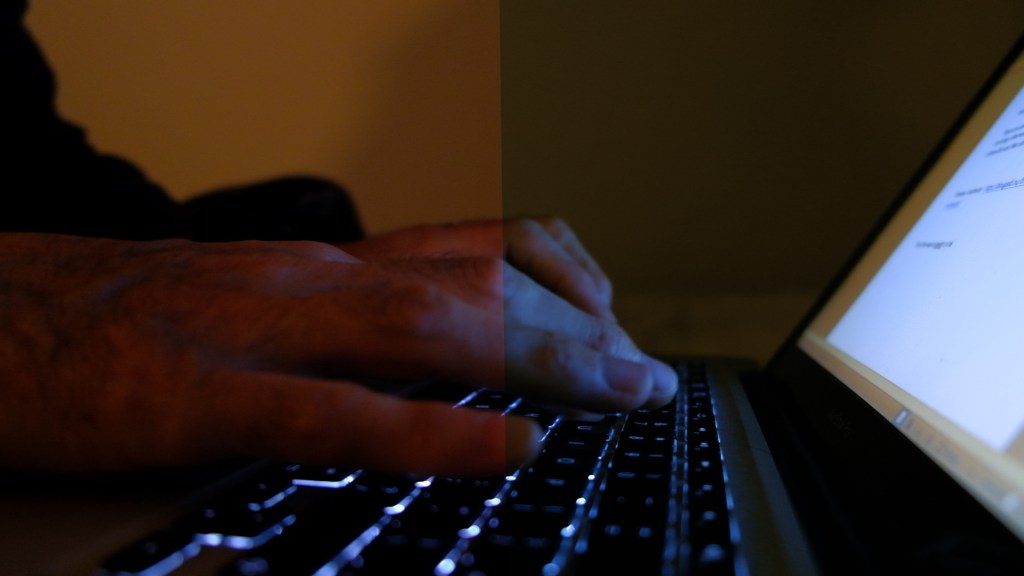
I then had to add a fill light as my subject’s face was completely in shadow and I again decided to make it a practical light source, writing a laptop into the scene to light my subject. I had the laptop angled up at him to create a sinister look and keep in some of the shadows which I quite liked. I also made sure to keep the laptop’s light nice and white, this helped my subject stand out from the orange background and create some nice depth in the frame.
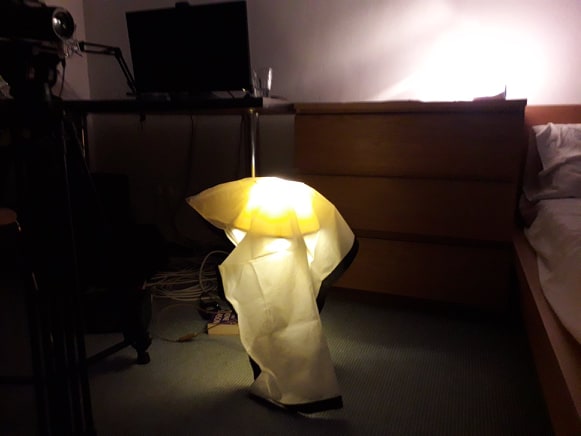
I then used a combination of either one or two household lamps to fill in any unwanted shadows in the frame. The best example of this is when I used a lamp to light the bottom of the bed in my opening shot.
I found the lamps were a bit to harsh for my liking so I simply taped one of my softboxe’s diffusion sheets to it to create the look I wanted.
Camera settings
As we know, there are three ways to change how much light a camera lets in, so let’s go through those one by one.
ISO
Adjusting your ISO is the most obvious way of changing your exposure. If I was new to filmmaking I would have probably just cranked up my ISO and began shooting. But the higher your ISO the more noise you pick up and the more noise you pick up the more you cry when editing. So to avoid tears, I kept my ISO at 600 as I found anything above that began to let some noise in and I just wasn’t having it.
Aperture
The next way to change your exposure is by adjusting your aperture. But you have to also be aware that changing your aperture also affects your depth of field. Luckily, I had already decided I wanted to shoot with a small depth of field as I wanted my subject to really pop out of the background. To achieve this look I kept my aperture at f/2.8. Being the fastest my lens could go it also meant shooting at f/2.8 let in the most light possible which was a massive win.

Shutter speed
We were taught to always keep your shutter speed at double the value of your frame rate (so if you’re shooting at 25fps your shutter speed should be 50). I set my shutter speed to 50 but the picture was still too dark. So I did a cardinal sin of filmmaking…
By lowering my shutter speed to 30 it allowed the perfect amount of light in. The problem is it meant I would pick up a lot more motion blur. But, as there is practically no motion in my film, I was able to get away with it. So, as painful as it may be to read that I changed my shutter speed, just know that it brought me great pain and I did it with full knowledge of the consequences.
Tension
I could bang on for ages about the many ways I attempted to create tension in this short but we’ll be here all night so instead I’ll just pick out the main techniques I used.
Camera movement
I used camera movement a number of times throughout the film in an attempt to create tension. Here are some of my favorites.
In this shot I used a push in to show my character’s emotions. When my character is listening for a noise the camera is still, as if the audience is holding their breath. Once he brushes off the noise the camera begins moving; he is relaxed.
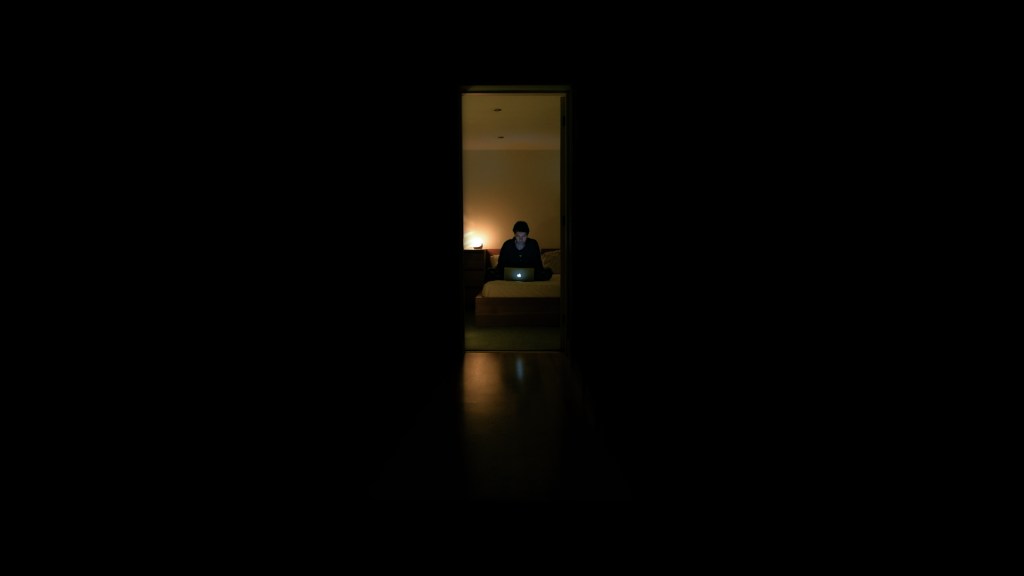
I used a slow push in a number of times in the film but my favorite example is when my character is looking down the hallway. The push in makes it feel as if whatever he is looking for is slowly getting closer to him. Personally I think this shot came out really well.
This shot was actually filmed on sticks without any movement and I added a push in and tilt effect in post. By adding these effects in post it gave a really unnatural and unsettling feel to this shot. I also added a mask over the doorway to make it completely pitch black. All this coupled with Ben’s great sound design turned this into a really creepy shot.
In this shot I slowly revealed the doorway in an attempt to build anticipation for a jump scare. I again added a mask in post to remove any light spilling out into my hallway and keep that doorway nice and sinister looking.
Here I tried to match my character’s movements with the camera: following as he goes to get up and coming back down with him. I did this to try to visually show his thought process of wanting to check out the noise but then deciding against it. This trick was recommended in the book Master Shots Volume 3 by Christopher Kenworthy.
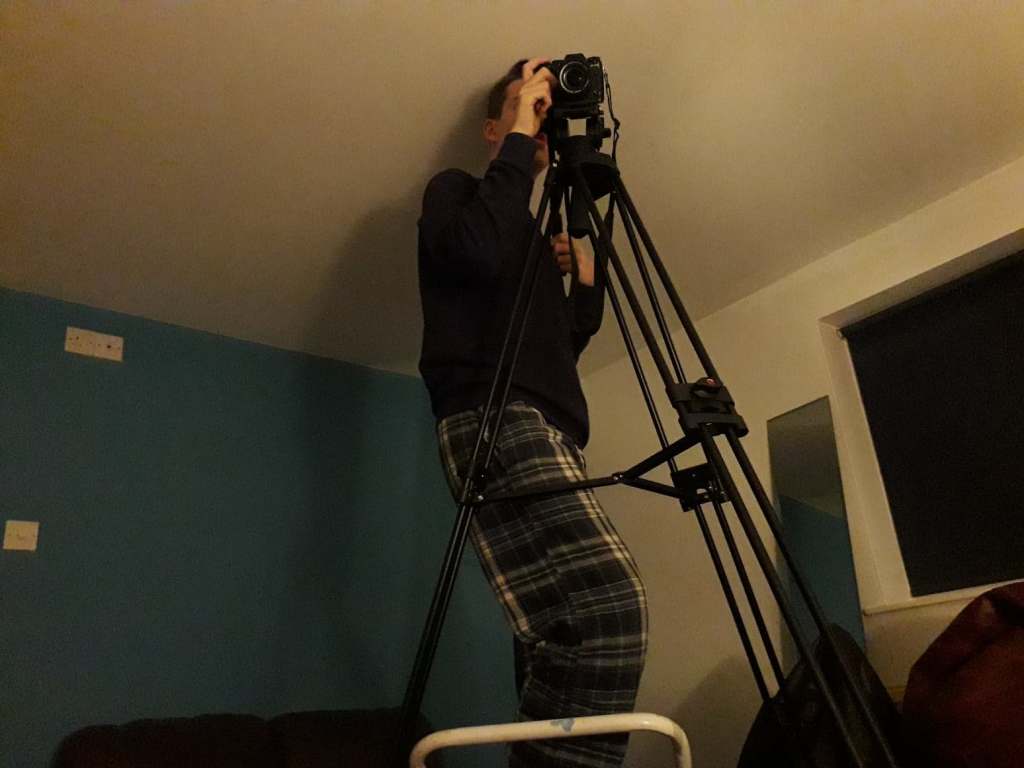
This shot was one of the most awkward to shoot because of how low I had to get the camera. I wasn’t able to use my slider as it wasn’t long enough so I ended up putting the camera on a thin laminated book and simply sliding it across the floor. This shot took about 8 takes to get right but I was really happy with the outcome.
Composition
I tried to use a number of composition techniques to create an uneasy feeling in the film. I could say a lot about every shot but I’ll just pick out my two favorites.

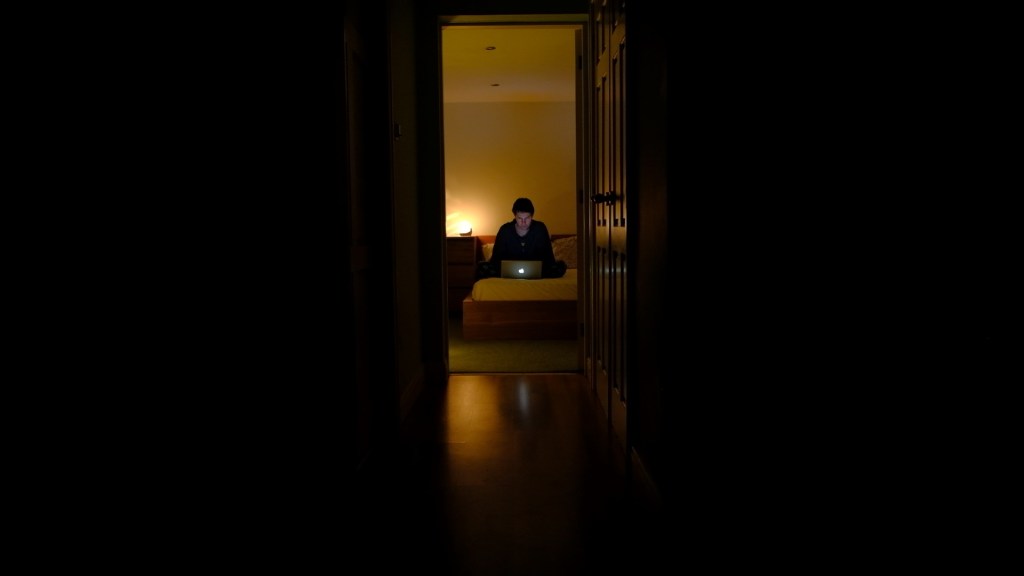
My opening shot was inspired by Jordan Peele’s Get Out. I used frame within frame and loads of negative space to give the feeling that my character is very alone and make the world outside of the room feel quite sinister.
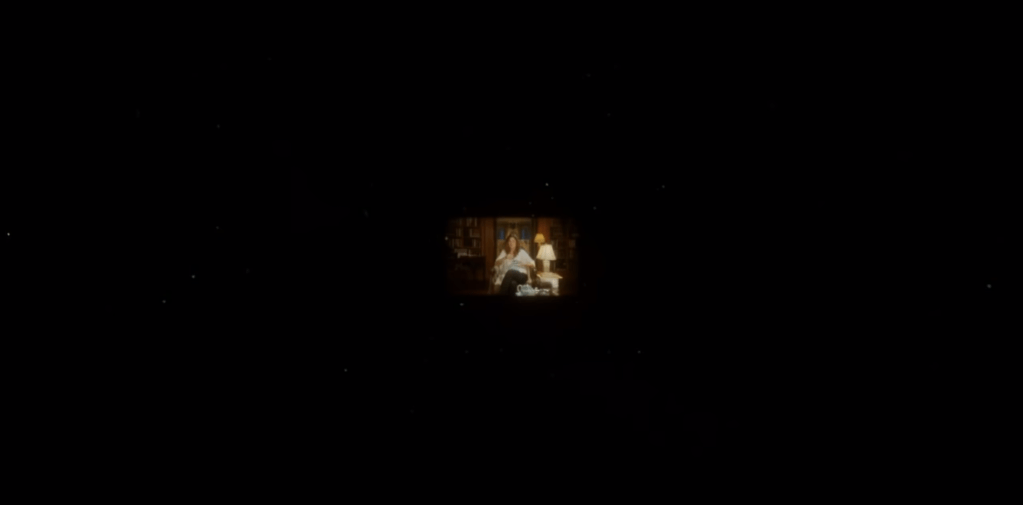
To achieve this look I set my camera up at the end of my corridor and made sure to get my entire door frame in shot. Then, in post, I masked out everything outside of the door frame, only leaving the shadow on the floor. Finally, I lowered the scale of the entire shot to make my subject look a lot smaller in the frame.
I used a dutch angle a couple of times towards the end of the film to create a more uneasy feeling.
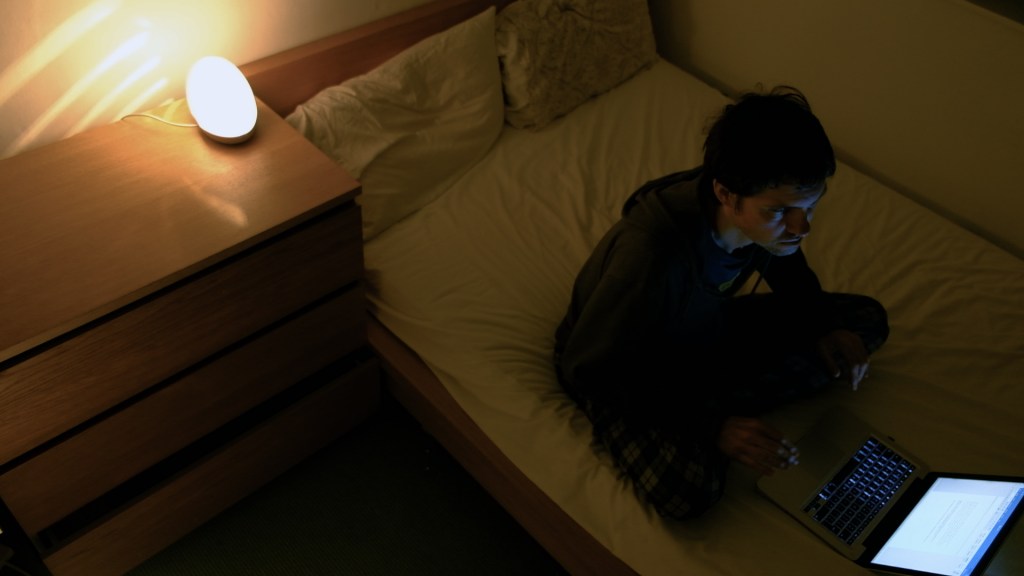
For this shot I used a combination of composition techniques. I used the dutch angle but also put the camera high up so that I could shoot down onto my subject, making him look vulnerable. I also used the rule of thirds but decided to put my subject on the right hand side of the frame leaving all the negative space behind him making the shot feel uncomfortable and making my subject look trapped. This is probably the most complex shot of the entire film due to the number of composition techniques I tried to fit into one frame.
Shot Choice
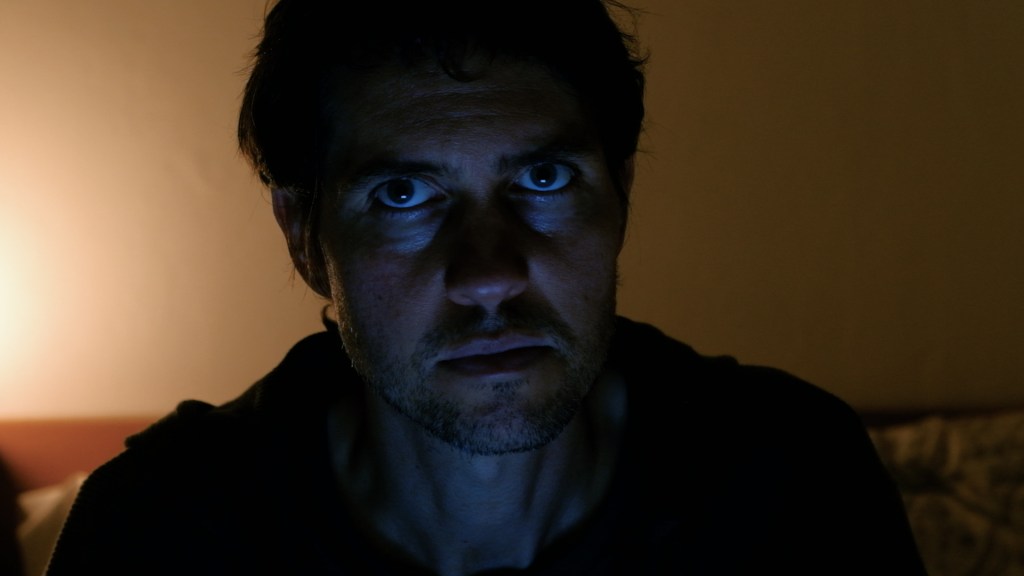
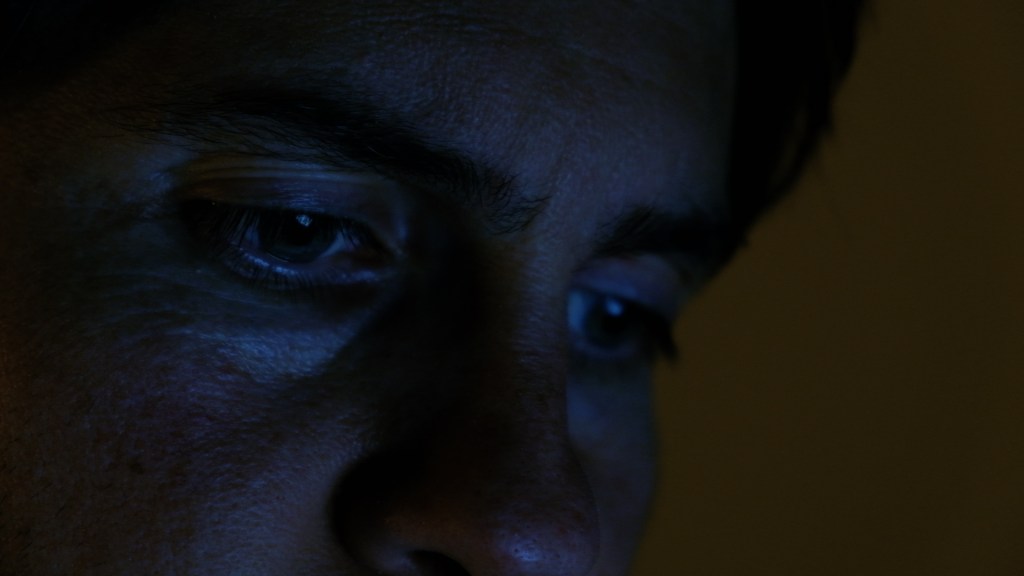
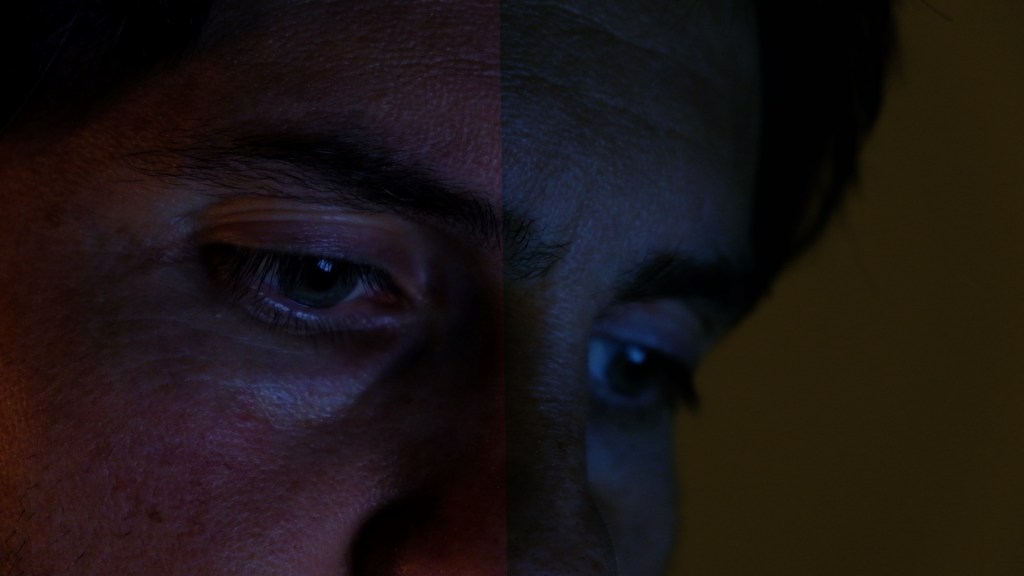
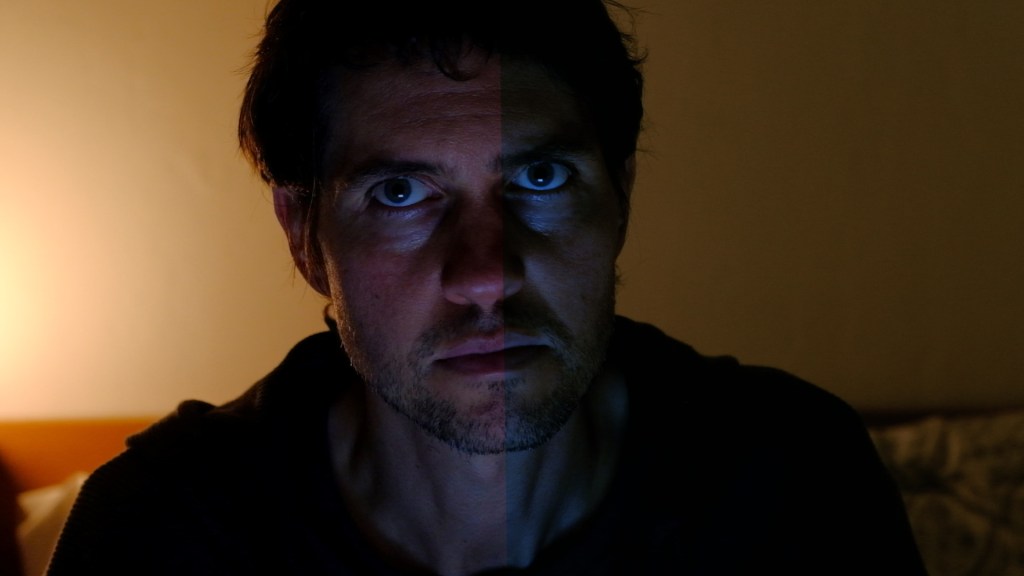
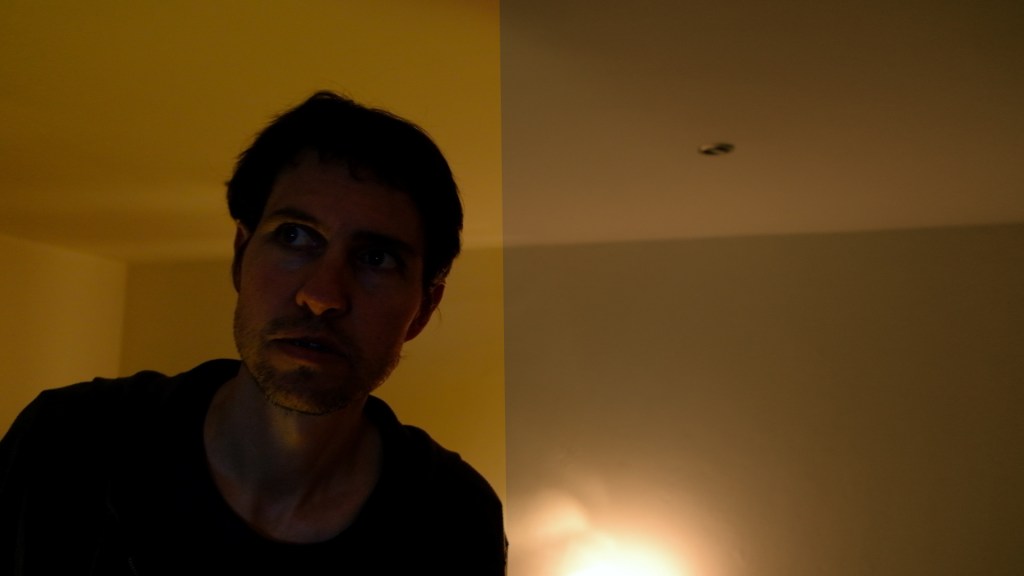
I tried to be very conscious about choosing my shot sizes in this film as a way of assisting the narrative. I open with a wide to set the scene but then almost immediately jump into a number of close-ups to introduce the character. I made this decision because they always say eyes are the gateway to the soul and I wanted to see what the outcome would be if the first time we properly saw my character is through a extreme close-up of his eyes. I ended up really liking the intimacy of the shot and decided to leave it in the final cut.
I then kept nice and close to my subject until he hears a noise for the first time when I jump out to a wide shot. I did this to emulate how the character has been inside his own head but is now suddenly made aware of the room around him. This wide shot is also a way of reminding the audience how vulnerable my character is.
From this point on I slowly move the camera closer and closer to my subject, mainly sticking to medium sized shots around the mid point and building up to more close-ups towards the end. This is a way of building the intensity of the film and showing how the danger is getting closer and closer to my character.
The final thing to mention about my shot choice is that I decided to use my character’s hands as I way of showing his emotions i.e, typing when he is relaxed, stopping when he is scared, etc. I read somewhere that Steven Spielberg always loved putting an emphasis on his character’s hands and I had always wanted to try to put that into my own work. This project just seemed like the best place to experiment with it and, personally, I think it worked quite effectively.
Editing
Everything I have spoken about up until this point has been entirely my own work but the editing is where Ben got to show off his skills. Everything you hear in this film was both recorded and edited by Ben, only the sound of my dad typing was taken directly from the camera, everything else was crafted by him. This meant, when it came to editing I only had to worry about pacing and color grading (and a tiny bit of masking).
Pacing
There isn’t a great deal to say about the pacing of the film other than I had it slowly build throughout. I let my shots really linger at the start when he hears the first noises to build up a feeling of tension. As my character gets more uneasy the pace gets faster and faster until we hit a really fast section which takes us into act three where we return to lingering shots.
I also added a push in effect to this whole group of clips to help it feel more intense.
Color grade
I’ll be the first to admit, I’m not very good at color grading. Luckily I put in a lot of work with my lighting so I knew there wasn’t loads I needed to do. The main issues were that the whole film was very orange due to lighting everything with household lamps and the whole thing was also a little bit too bright. So essentially all I did in the grade was pull back the oranges and bring forward the shadows. It wasn’t very sophisticated but I am still happy with the final look I achieved.
Overall this film was a massive learning experience for me and even though the end result of wasn’t anywhere near as good as what I set out to achieve I am super proud of it. I am not proud of it because I think it is a masterpiece, I am proud of it because I made it, I was able to get it done despite wanting nothing more than to give up. Being isolated from people does horrible things to your creativity and motivation and I think it is a massive achievement for anyone to produce any sort of creative work in these conditions which is why I am so proud of this project, I defeated the lockdown blues.
Of course I wasn’t actually alone in this project so I’d like to give a massive thank you to my dad who helped me through this entire process and to Ben who worked just as hard as I did on this project and pushed me to produce the best work I could.

Extremely effective, Taran — given how little actually happens, it’s completely gripping and engaging, delivering bags of horror atmosphere. Testament to how effectively horror can be generated from lighting, sound and shot choice. Well done.
LikeLike